
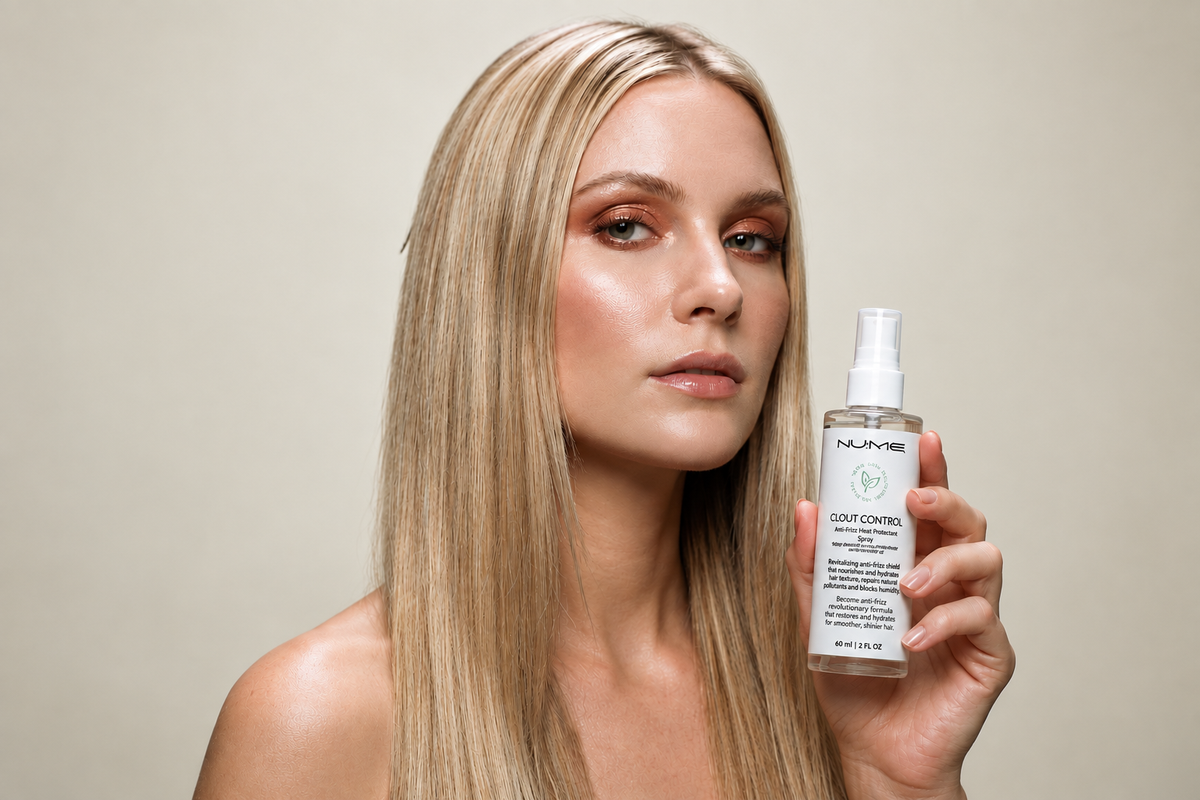
Wondering what to apply before straightening hair? Here are all the steps that you are going to need for a sleek finish.
Flat-iron day doesn’t need a glam squad of six products waiting in the wings. The trick is knowing what to apply before straightening hair; and which bottles are just adding drama to the dressing room.
For most routines, heat protectant is the essential player. A leave-in treatment can be helpful when your hair needs extra conditioning, but you don’t have to layer on every cream, oil, and serum that promises a silky finish. Sometimes less is more: too much product can leave your hair feeling heavy or coated before you’ve even picked up the iron.
We’ll walk through what goes on first, which products suit different hair needs, and what’s better saved for after styling. Consider this your friendly edit of the bathroom-counter lineup.

What Should I Apply Before Straightening My Hair With a Flat Iron?
If you are here for the short answer, don’t worry - we are not going to gatekeep it from you!
Before straightening your hair, apply a heat protectant evenly to clean, completely dry hair. If your hair needs extra smoothness, add a small amount of lightweight smoothing serum to the mid-lengths and ends. Then let everything dry fully before using your flat iron.
And now, let’s explain a little bit more:
Step 1: Give your hair a fresh little reset
Your wash-day prep, in 3 little steps
Shampoo your scalp and rinse well. Clarify occasionally if buildup has your hair feeling coated.
Condition the lengths and ends or swap conditioner for ReNu21 as directed; skip conditioner when using the leave-in mask.
Keep the product layers light. Leave-in masks stay in, but they aren't heat protectants; add suitable heat protection before styling.
If you’re wondering what to put on hair before straightening, your first move is actually in the shower, not a product parade at the bathroom mirror. When strands feel coated with dry shampoo, oil, sweat, or yesterday’s styling products, they can be harder to smooth. Start with a clean base, and your styling products won’t have to fight through the buildup.
- Shampoo your scalp and rinse really well. If your hair feels fresh and light, your regular shampoo should do the trick. If it’s feeling a little waxy or weighed down, an occasional clarifying shampoo can help clear away product buildup. You don’t need to bring out the big guns every wash day, though. A smoothing shampoo may leave hair softer and easier to manage, but it won’t magically turn curls into a poker-straight style.
- Condition the lengths and ends, then rinse well. Think of conditioner as your detangling sidekick: it can leave hair softer and easier to comb through before styling. A rich mask can be lovely when your hair needs extra TLC, but fine hair or strands that get weighed down may prefer the lighter approach. We’re after soft and swishy; not coated and wondering what happened.
- Want a leave-in treatment instead of conditioner? Make it a swap, not a stack. Shampoo, skip conditioner, and towel-dry until your hair is damp. Apply up to five pumps of NuMe ReNu21 Nano Repair Leave-In Mask through the mid-lengths and ends, wait four minutes, and leave it in, no rinse required. It stays in as you continue styling, but it isn’t a heat protectant, so you’ll still need suitable heat protection before using hot tools.
This step is key, especially if you want to straighten your hair without damage.
Step 2: Apply your heat protectant while your hair is damp
Damp hair to flat-iron ready ✨
Now that your hair has had its wash-day reset, it’s time for its little protective layer. A heat protectant helps reduce heat-related stress, but it works best when you apply it evenly and follow the product’s directions, not when you spritz the top layer and hope for the best.
-
Towel-dry gently. Squeeze out excess water with a towel. Aim for damp hair, not strands that are still dripping; a drenched head of hair makes it harder to distribute a spray evenly.
-
Make a few sections. Divide your hair into manageable sections, starting underneath and working toward the top. This helps you reach the layers that love to hide behind the rest.
-
Spray each section. Apply the heat protectant as directed, coating the hair evenly. For a spray, move through one section at a time instead of misting the whole head from a distance and crossing your fingers.
-
Brush or comb it through. If the product directions allow, gently distribute it through each section so one spot isn’t slick with the product while another gets nothing. Use enough for even coverage, but don’t drench your hair; too much can leave it coated and take longer to dry.
-
Blow-dry until your hair is completely dry. Some protectants are designed for damp hair and need heat from a blow-dryer to activate. NuMe Clout Control is one example: its directions say to apply it to towel-dried hair in sections, brush through, and blow-dry before continuing with hot-tool styling.
A quick label check saves a lot of guesswork: some heat protectants are made for damp hair before blow-drying; others are intended for dry hair before a flat iron. Follow the directions for the formula you’re using, and never clamp a conventional flat iron over damp hair or wet product.
Step 3: Bring out the flat iron, but only when your hair is fully dry
The blow-dryer has done its leave-in mask activation encore, and now your hair should be completely dry. Give it a quick check underneath and near the roots; those sneaky little damp patches love to hide where you least expect them. A flat iron should glide over dry hair, not turn your styling session into a steam room.
Before you start, comb through any tangles and divide your hair into manageable sections. Set your iron to a temperature that suits your hair, starting lower and increasing only if you need to.
There’s no magic number that works for every head of hair, so take your strands’ texture and condition into account. NuMe’s Megastar, for example, has adjustable temperature settings, letting you choose a setting instead of defaulting to maximum heat.

Now glide the iron through each section with a steady hand. Keep the sections small enough for the plates to reach the hair evenly, and resist the urge to keep going over the same piece just because you’re chasing extra-glossy perfection. If your hair catches, crackles, or still feels damp, pause and check your prep before continuing.
Your flat-iron-ready checklist: dry hair, detangled sections, sensible temperature, then style. For more detailed technique and heat-smart tips, see our guide to Straightening hair without damage.
Step 4: Let it cool, then add a little finishing touch

Your hair has made it through the heat portion of the show, now let it cool before brushing or fussing with the style. That brief pause helps keep your freshly straightened sections from getting mussed while they’re still warm. NuMe’s flat-iron directions also recommend letting hair cool before brushing or finishing.
Wondering what to apply after straightening hair? If you want a little extra shine or smoother-looking ends, warm a tiny amount of lightweight serum or hair oil between your palms, then skim it over the mid-lengths and ends. Start small; you can always add another drop, but coaxing an over-oiled style back to life is a whole different plotline.
Keep finishing oils for after the flat iron unless the product specifically says it’s made for heat styling. And think of serum as the finishing gloss, not a repair treatment or a substitute for the heat protectant you applied earlier. Done: sleek hair, no unnecessary product parade.
Which Products Make Sense for Your Hair?
There’s no one-size-fits-all shopping list for the best products to use before straightening hair. Your hair’s needs, and how easily it gets weighed down, should decide what makes the cut.
Which Products Make Sense Before Straightening?
Think of this as your bathroom-counter edit: a few well-chosen helpers can do the job, and your hair doesn’t need a six-product entourage.
| Product | When it earns a spot | How to use it |
|---|---|---|
| Shampoo | When your roots feel oily or your hair feels coated with leftover product. | Work it into your scalp and rinse thoroughly. Clarifying shampoo can help with noticeable buildup, but it doesn’t need to be an every-wash guest. |
| Rinse-out conditioner | When your lengths need softness or a little help detangling. | Apply mainly to the mid-lengths and ends, then rinse well. Fine hair may prefer a lighter amount. |
| Leave-in repair mask | When your hair needs extra conditioning before styling. | Use a repair leave-in mask as directed in place of conditioner: shampoo, skip conditioner, apply to damp hair, wait four minutes, and leave it in. It isn’t a heat protectant. |
| Heat protectant | Before blow-drying or using a flat iron, if the product is made for that styling step. | Follow the label for damp- or dry-hair application. For example, Clout Control is applied to towel-dried hair, brushed through, and blow-dried before hot-tool styling. |
| Serum or hair oil | When you want a little extra shine or help smoothing finished ends. | Try a tiny amount after styling, concentrating on the mid-lengths and ends. Check the product directions before using any oil near a hot tool. |
What Not to Apply Before Straightening Hair
Your hair-prep routine doesn’t need a plus-one, a backup plus-one, and three mystery serums. Before your flat iron makes its entrance, here are a few things to keep out of the lineup, or at least use with a little more care.
1. A big pour of oil or serum
A few drops can add shine, but a heavy layer may leave your hair looking greasy or feeling weighed down. Save most oils and finishing serums for after styling. If a product is specifically made for use before heat, follow its directions and start with a tiny amount. Your ends want a gloss moment, not a slippery situation.
2. The whole product shelf at once
Leave-in mask, smoothing cream, oil, heat spray… suddenly your hair has more layers than your outfit. Too many products can leave strands coated and make it harder to get an even, smooth finish. Keep the routine simple: use a conditioning treatment if your hair needs one, then choose a heat protectant suited to your styling routine.
3. A leave-in mask in place of heat protection
A leave-in can help condition your hair, but that doesn’t automatically make it a heat protectant. ReNu21 Nano Repair Leave-In Mask, for example, is a conditioning treatment; use a separate product intended for heat protection before styling. Every bottle has its own job description, check the label before assigning it a new one.
4. Products in the wrong order
Some formulas go on damp hair and need to be blow-dried before you pick up your flat iron. Clout Control, for example, is applied to towel-dried hair, brushed through, and blow-dried before hot-tool styling. Follow the directions for your product so your prep routine stays smooth and drama-free.
5. A flat iron on damp hair
This is your friendly reminder to let your hair dry all the way before flat-ironing. If you hear sizzling or see steam, pause and check that your strands are fully dry before continuing. Damp hair and hot plates are a decidedly un-cute pairing.
The quick edit: keep the layers light, give each product the job it was made for, and let your hair dry completely before flat-ironing. Your strands are ready for their sleek little finale.
Skip these little hair-prep oopsies
A heavy layer of oil or serum right before styling, unless the label says it’s made for heat.
Every product on the shelf, too many layers can leave hair feeling coated.
Assuming a leave-in is heat protection. Check the label and add a suitable protectant.
Flat-ironing damp hair. Let every strand dry completely first.
What to Apply Before Straightening Hair, Based on Your Hair Type
Your hair type gets a vote in this routine. The goal is to give your strands what they need without turning wash day into a product-layering audition.
- Fine or easily weighed-down hair - Keep things light. A small amount of conditioner on the ends may be plenty, and you can skip rich masks or oils if they leave your hair limp. Choose a heat protectant that feels comfortable on your hair, then use only the amount its directions recommend.
- Thick, coarse, or very curly hair - Work in smaller sections so your products reach all the way through, instead of sitting on the top layer like a very pretty hat. Distribute your heat protectant evenly and detangle gently before styling. If you use a smoothing or leave-in treatment, follow its directions and remember it may help with manageability without making your natural texture straight on its own.
- Dry, damaged, or color-treated hair - Give conditioning a little extra attention, but keep the layers intentional. A leave-in treatment can be useful if it suits your routine; just check whether it replaces conditioner and whether it offers heat protection. Use a heat protectant made for your styling step, and choose a temperature that works for your hair rather than automatically reaching for the highest setting.
- Hair that gets frizzy in humidity - A smoothing product may help your style look more polished, especially when used exactly as directed. Some formulas go on damp hair and need to be blow-dried before flat-ironing, so check the order on the bottle. A little planning can save you from the “why is my hair doing this?” mirror moment later.
The easy rule: start with your hair’s biggest need - lightweight softness, extra conditioning, or frizz control - then add heat protection for your styling routine. That’s usually enough to decide what to put on hair before straightening without inviting the entire bathroom cabinet.
The Takeaway: Keep Your Straightening Prep Simple
So, what should you apply before straightening hair? Start with clean, conditioned hair; add a leave-in treatment if your strands need extra conditioning; then use a heat protectant suited to your styling routine. Let your hair dry completely before reaching for the flat iron.
That’s the whole little lineup. Choose products for your hair’s needs, follow their directions, and don’t let the bathroom counter convince you that more layers mean a better result. A few thoughtful steps can set you up for a smoother styling day.
FAQs About What to Apply Before Straightening Hair
What should I put on my hair before straightening it?
Use a heat protectant made for your styling routine, following its label. You can add a leave-in treatment if your hair needs conditioning, but check whether it replaces rinse-out conditioner and whether it offers heat protection.
Should I put heat protectant on wet or dry hair?
It depends on the formula. Some heat protectants are designed for damp hair before blow-drying; others are made for dry hair before a flat iron. Check the directions and apply it evenly.
Should my hair be wet or dry before flat-ironing?
Your hair should be completely dry before you use a flat iron. If it still feels damp, give it more time to dry before styling.
Can I put oil in my hair before straightening?
Use oil before heat only if the product’s directions say it’s suitable for that step. Otherwise, save a small amount for the ends after styling, where it can add shine without weighing down your prep routine.
Can I use leave-in conditioner before straightening?
Yes, if it suits your hair and the product directions allow it. A leave-in conditioner can help condition hair, but don’t assume it also protects against heat. Use a separate heat protectant unless the label specifically says the leave-in provides heat protection.
Can I use Clout Control before straightening?
Yes. Apply Clout Control Anti-Frizz Spray to towel-dried hair in sections, brush it through, and blow-dry before using hot tools, following the product directions.
Is a leave-in mask the same as heat protectant?
No. A leave-in mask is a conditioning treatment unless its directions specifically say it protects against heat. For example, ReNu21 Nano Repair Leave-In Mask is used as a leave-in conditioning step; use a suitable heat protectant separately before styling.
Share:
Best Temperature for Straightening Hair Exact Numbers by Hair Type
Top 12 Tips on How to Straighten Hair With a Flat Iron Like a Pro